A truly exceptional blowout is more than just drying hair; it’s the architectural foundation of any stunning hairstyle. For a professional stylist, mastering this art separates a good service from an unforgettable one. It’s a craft built on a deep understanding of hair structure, product chemistry, and thermal dynamics. While clients see a beautiful, bouncy finish, the expert knows it’s a result of deliberate steps, each one designed to manipulate the hair cuticle and set a long-lasting shape.
This guide moves beyond the common advice of “use a nozzle.” We will deconstruct the process into its core components—the preparation, the technique, and the finish—to give you the insider knowledge needed to create blowouts that not only look spectacular but also endure for days. It’s about transforming hair from a raw material into a polished, resilient work of art that holds its volume, reflects brilliant shine, and resists humidity and time. The goal is to create a style so flawless that your client feels its value long after they’ve left your chair.
The Foundation: Building the Style Before the Heat
The most common mistake in hairstyling is believing the work begins with the blow dryer. In reality, a perfect blowout is 50% preparation. You cannot build a strong house on a weak foundation, and the same principle applies to hair. This stage is about creating the ideal canvas by selecting and layering products with intention. This isn’t just about protection; it’s about prescription. Each product has a purpose, and applying them correctly sets the stage for success.
First, gently towel-blot the hair to remove excess water without roughing up the cuticle. Hair is most fragile when wet, so aggressive rubbing creates frizz before you’ve even begun. The hair should be about 60-70% dry before a brush ever touches it. You can achieve this by rough-drying with your hands, lifting the roots to encourage initial volume. Only then should you apply your “product cocktail.” Think of this as priming a canvas. A single, all-in-one product rarely delivers professional results. Instead, layering addresses multiple needs simultaneously.
- For Fine, Limp Hair: Start with a volumizing mousse or root-lift spray applied directly at the scalp. This provides the structural support needed to lift the hair away from the head. Follow with a light, heat-protectant spray on the mid-lengths and ends.
- For Thick, Frizzy Hair: Begin with a smoothing cream or leave-in conditioner to hydrate and tame the cuticle. This is your base layer of control. Then, apply a heat-protectant serum, focusing on the ends to seal in moisture and add shine.
- For Normal or Combination Hair: A multi-benefit leave-in conditioner is a great starting point. You can then target the roots with a texturizing spray for lift and the ends with a small amount of shine serum.
Distribute these products evenly with a wide-tooth comb. This ensures every strand is coated, providing consistent protection and styling benefits throughout the hair. Now, the canvas is prepped and ready for the heat.
The Technique: Mastering Tension, Temperature, and Airflow
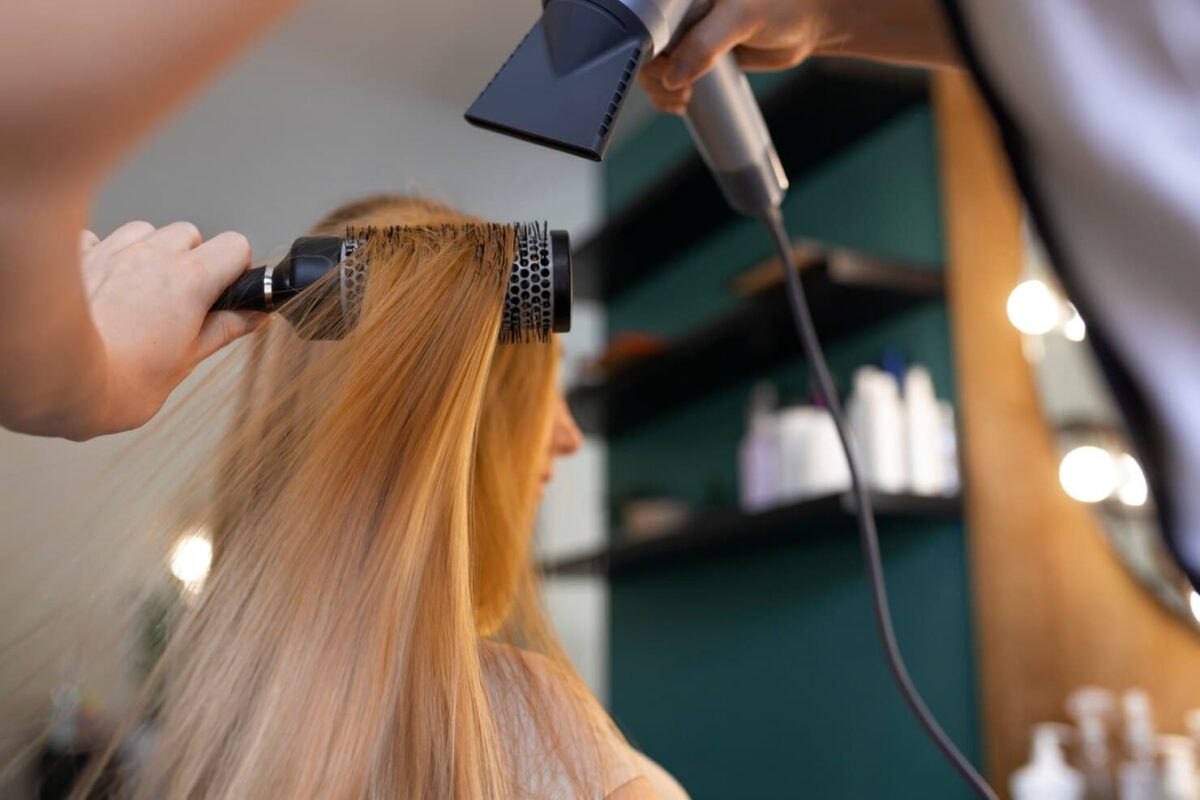
This is where the physical artistry comes into play. The perfect blowout relies on a delicate balance of three elements: tension, temperature, and airflow. Mastering their interplay is what closes the hair cuticle completely, creating a smooth, reflective surface that shines and lasts.
Tension is the most critical and misunderstood component. It’s not about pulling the hair hard, which can cause damage. It’s about maintaining a firm, consistent tautness on the section of hair wrapped around your round brush. This tautness creates a smooth “runway” for the heat and air to travel along. As you pull the brush through the hair, the bristles grip and smooth the cuticle layer. Without proper tension, the air simply blows the cuticles open, resulting in frizz and a lack of shine.
Pair this tension with intelligent heat management. Always use the nozzle on your dryer. It concentrates the airflow into a precise blade of air, giving you control. Without it, the air scatters, creating chaos. The airflow should always be directed down the hair shaft, from root to tip. This forces the cuticles to lie flat, which is the secret to natural shine. Keep the dryer moving continuously to avoid heat damage. Finally, the “cool shot” button is not a gimmick; it is your secret weapon for longevity. After a section is completely dry and shaped, a blast of cool air rapidly cools the hair, setting the hydrogen bonds into their new shape. A warm strand of hair is still malleable; a cool one is locked in place.
The Finish: Sealing the Style and Ensuring Longevity
The final moments of the blowout are just as important as the first. The biggest mistake is to touch or break up the style while it’s still warm. Allow the entire head of hair to cool completely—for at least five to ten minutes—before any final styling. This is the “curing” phase where the style solidifies.
Once cool, you can use your fingers to gently shake out the roots for a more lived-in, modern feel. This is also the time to apply finishing products, but be strategic. For volume, use a dry texturizing spray at the roots instead of a wet hairspray, which can weigh the hair down. For extra shine and frizz control, apply a single drop of lightweight oil or serum to your palms, rub them together, and lightly glaze the surface of the hair, avoiding the roots. This seals the ends and enhances reflectivity without sacrificing volume. By following this meticulous process, you’re not just drying hair—you’re sculpting a durable, beautiful style that showcases your true artistry.